When you use the ‘Build Project and Deploy’ wizard, Catalyst will: save your project, compile your project, download the program to the attached controller, and start the program.
After your program is installed in a controller, you can use Debug to check that the program is functioning correctly.
►To build and deploy your project:
1
1.Click the Build and Deploy button ![]() .
.
— Or —
In the menu bar, click Build > Build and Deploy.
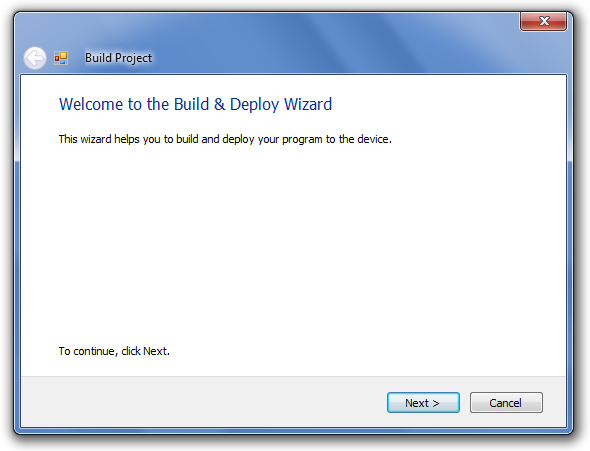
2.The Build and Deploy wizard will open.

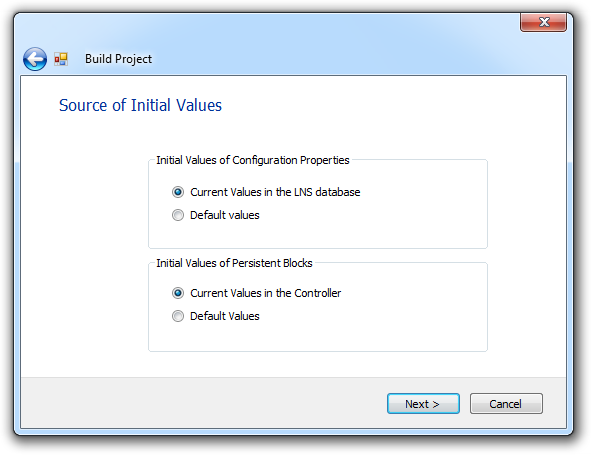
3.Click Next. The page will allow you to select the Source of the Initial Values for your program.

4.Select options for the source of the Initial Values for Configuration Properties:
Current Values in the LNS database — Select this option to use the values that are currently stored in the LNS database (which may have been changed after the program was last compiled and downloaded – for example, if the user used an HMI to update the configuration property)
Default Values — Select this option to revert the configuration properties to the default values that you have specified for these blocks (CpInteger, CpNumeric or CpDigital)
5.Select options for the source of the Initial Values of Persistent Blocks:
Current Values in the Controller – Select this option to preserve the persistent state of blocks (a persistent block can preserve state when the controller has been reset or powered down).
Default Values – Select this option to revert the block back to its default state.
6.Click Next. This page will allow you to Clear Trend Logs. If you are using Trend Blocks in your program, you can select:
Do not Clear Trend Logs - Select this option to preserve any data that has previously logged by the block prior to compiling and downloading your new program
Clear Trend Logs –Select this option to clear data that has been logged by the block prior to downloading your new program.
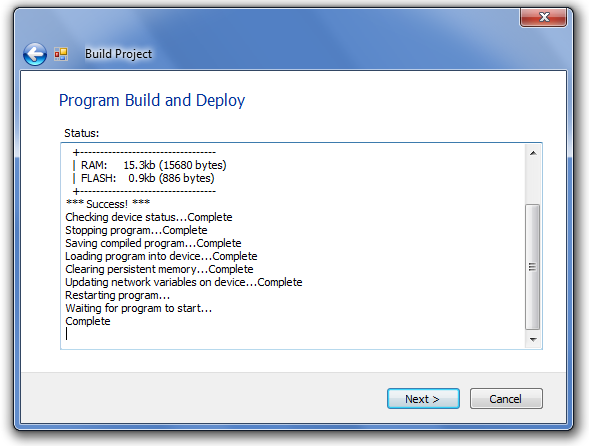
7.Click Next. This page will display messages about the build and deploy process. When the build and deploy process is complete, the Next button will be available.

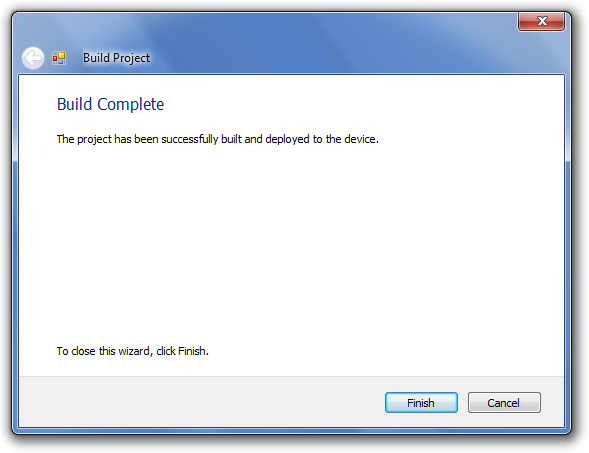
8.Click Next. The Build Complete page will open. This window will advise you of the success and completion of the build and deploy process.

9.Click Finish. This is the end of the Build and Deploy process.