1
1.In the Toolbox, click the plus sign beside ‘Hardware’. The category will expand.
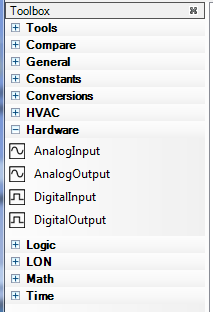
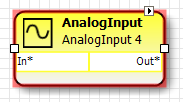
2.Click and drag an AnalogInput onto the page.
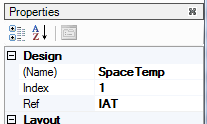
3.Keep the AnalogInput selected. In the Properties area, for the Name property type ‘SpaceTemp’. For the Ref property, type ‘IAT’.
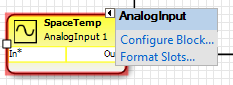
4.Click on AnalogInput1. Click the SmartTag to open the Tasks menu. Select Configure Block.
5.The Universal Input (UI) functional block will open. Configure the block as shown in the following figure.
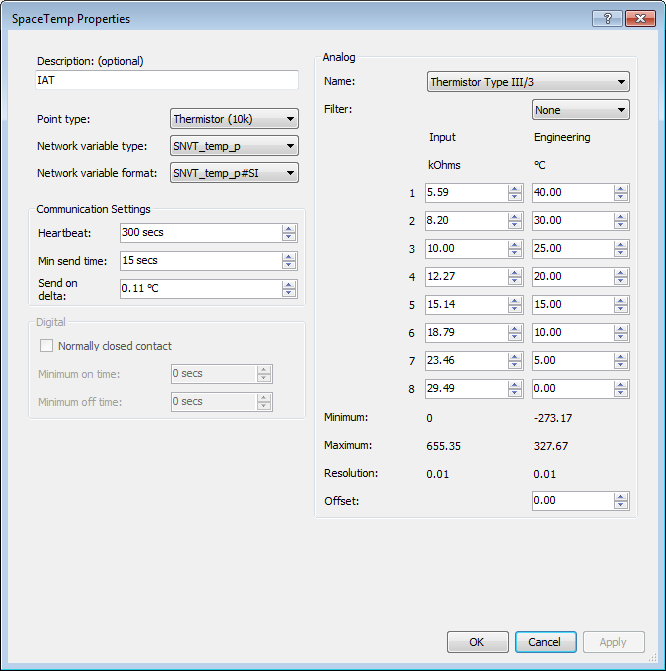
6.Click OK. The block will close.
7.Again, on AnalogInput1, click the SmartTag. Select Format Slots. By default, the slots should be formatted as shown in the picture below.
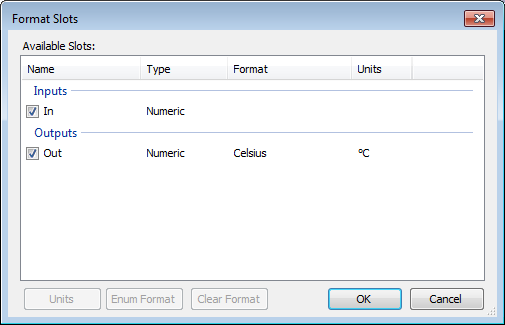
8.Click OK. The page where you are working will be visible.
9.With AnalogInput1 selected, press and hold down the Ctrl key. Click and drag AnalogInput1 to another area of the page. The programming block, with all of its configuration settings, will be copied. The new AnalogInput will be automatically assigned an Index of 2 and be named AnalogInput2.
10.Move AnalogInput2 so that is below AnalogInput1 and separated by a gap of two or three inches.
11.With AnalogInput2 still selected, look at the Properties area and enter ‘OAT’ (Outside Air Temperature) for the property ‘(Name)’.